 Github Actions自动部署
# 前言
我使用vuepress搭建了一个静态博客,挂在了Github pages上面。
- 现在的部署方式
使用sh部署脚本部署,把代码提交到这github平台的仓库分支。
- Github Actions 自动部署
只需要一次操作就可以同时把源码、部署代码一次性提交到平台呢
# 实现方式
在了解GitHub Actions最近(2019.12)刚正式发布了之后,尝试使用它发现能够满足我的需求。GitHub Actions 入门教程 (opens new window)
首先,需要获取token,后面会用到。获取方法:github获取token官方文档 (opens new window)、coding获取token官方文档 (opens new window)。
然后,将这token同时储存到github仓库的Settings/Secrets里面。变量名可以随便取,但是注意要和后面的ci.yml文件内的变量名一致,这里取的是ACCESS_TOKEN。
# 生成github token
在任何页面的右上角,单击您的个人资料照片,然后单击 Settings(设置)。
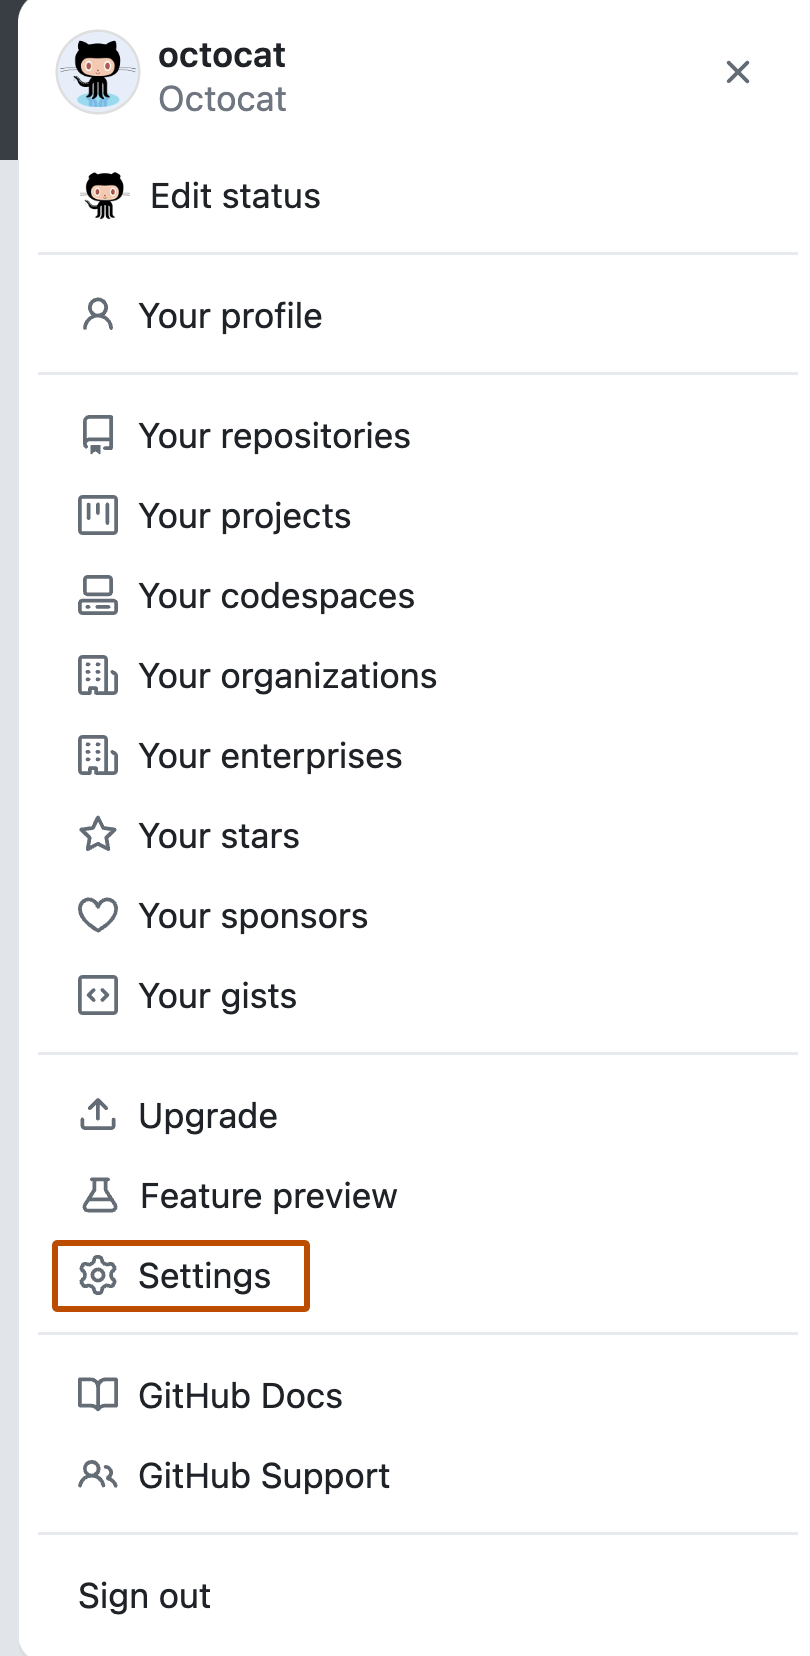
在左侧边栏中,单击 Developer settings。

在左侧边栏中,单击 Personal access tokens(个人访问令牌)。

单击 Generate new token(生成新令牌)。

给令牌一个描述性名称。

选择要授予此令牌的作用域或权限。 要使用令牌从命令行访问仓库,请选择 repo(仓库)。

单击 Generate token(生成令牌)。

单击 将令牌复制到剪贴板。 出于安全原因,离开此页面后,您将无法再次看到令牌。

警告: 像对待密码一样对待您的令牌,确保其机密性。 使用 API 时,应将令牌用作环境变量,而不是将其硬编码到程序中。
# 添加TOKEN
- 打开github项目setting
- Secrets
- New repository secret
- NAME设置为ACCESS_TOKEN
- Value填上刚才获取的token
# 设置ACTIONS
github actions有2中设置方式,第一种是直接从网页设置,第二种直接在本地新建,然后push到github,
# 网页设置
- 点击github actions
- 新建一个actions
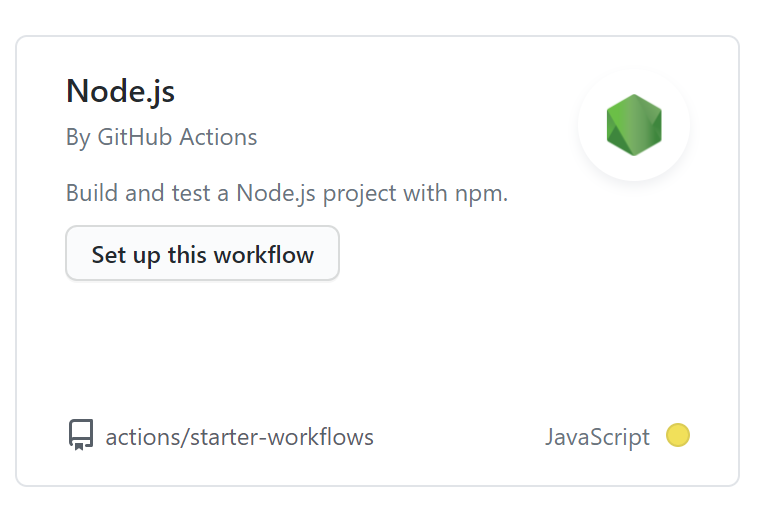
- 名字为ci.yml
name: CI

#on: [push]

# 在master分支发生push事件时触发。
on:
  push:
    branches:
      - master

jobs: # 工作流
  build: # 自定义名称
    runs-on: ubuntu-latest #运行在虚拟机环境ubuntu-latest

    strategy:
      matrix:
        node-version: [10.x]

    steps: # 步骤
      - name: Checkout # 步骤1
        uses: actions/checkout@v1 # 使用的动作。格式:userName/repoName。作用:检出仓库,获取源码。 官方actions库:https://github.com/actions
      - name: Use Node.js ${{ matrix.node-version }} # 步骤2
        uses: actions/setup-node@v1 # 作用:安装nodejs
        with:
          node-version: ${{ matrix.node-version }} # 版本
      - name: run deploy.sh # 步骤3 (同时部署到github和coding)
        env: # 设置环境变量
          GITHUB_TOKEN: ${{ secrets.ACCESS_TOKEN }} # toKen私密变量
          # CODING_TOKEN: ${{ secrets.CODING_TOKEN }}
        run: npm install && npm run deploy
      - name: Build and Deploy # 步骤3 (只提交到github可以使用这个步骤)
        uses: JamesIves/github-pages-deploy-action@master # 作用:将项目构建和部署到github。 https://github.com/JamesIves/github-pages-deploy-action
        env: # 设置环境变量
          ACCESS_TOKEN: ${{ secrets.ACCESS_TOKEN }} # toKen私密变量
          BASE_BRANCH: master # 要部署的文件夹所在的分支.
          BRANCH: gh-pages # 部署到的分支
          FOLDER: docs/.vuepress/dist # 要部署的文件夹.
          BUILD_SCRIPT: npm install && npm run build && cd docs/.vuepress/dist  && cd - # 部署前要执行的命令(记得cd进入某个目录后,后面要cd -退回开始的目录)
2
3
4
5
6
7
8
9
10
11
12
13
14
15
16
17
18
19
20
21
22
23
24
25
26
27
28
29
30
31
32
33
34
35
36
37
38
39
因为网页设置好了之后,云端代码需要pull到本地
git pull
拉到本地后,我们随意写一个新的文章,然后push到master。
本地方法雷同,这里不做展开。
# 验证是否成功
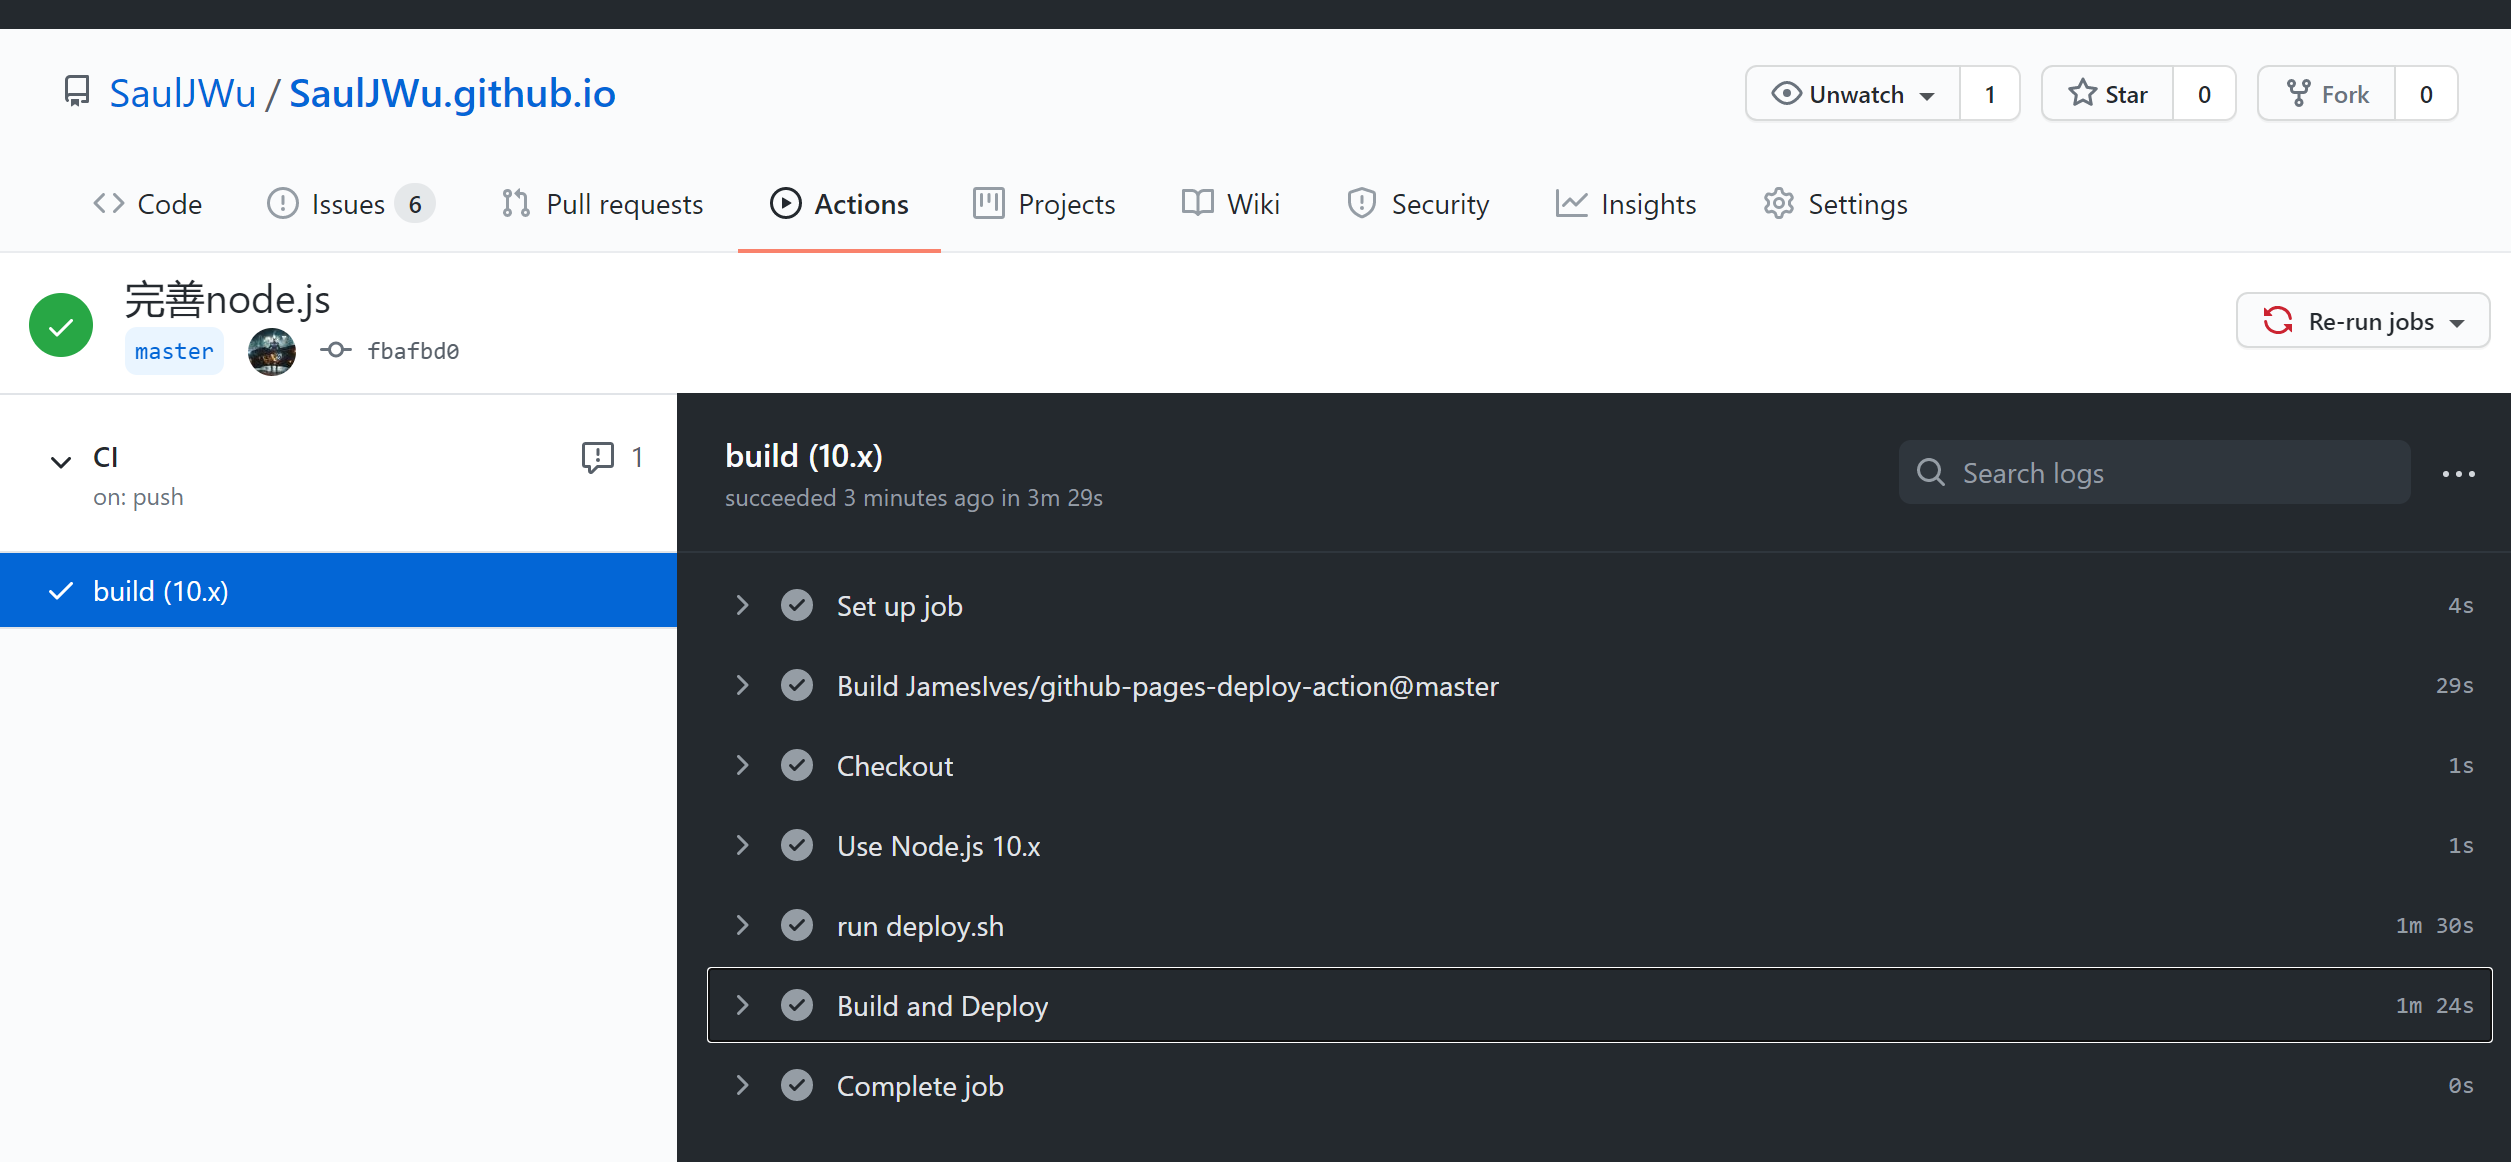
打开自己github 的 actions,就可以查看了。
# 一键部署
经过上面的设置,我们在项目的根目录新建一个sh,一键提交代码到master,之后只需要双击运行这个sh文件就可以了。
这种部署又分两种,第一种是本地编译打包部署(以前的打包方式),第二种是推送源码,自动触发云端部署。
- 本地编译部署打包(以前的打包方式)
deploy.sh
#!/usr/bin/env sh
# 确保脚本抛出遇到的错误
set -e
npm run build # 生成静态文件
cd docs/.vuepress/dist # 进入生成的文件夹

# deploy to github
# echo 'blog.xugaoyi.com' > CNAME
if [ -z "$GITHUB_TOKEN" ]; then
  msg='deploy'
  # git@github.com:SaulJWu/SaulJWu.github.io.git
  githubUrl=git@github.com:SaulJWu/SaulJWu.github.io.git
else
  msg='来自github action的自动部署'
  githubUrl=https://SaulJWu:${GITHUB_TOKEN}@github.com/SaulJWu/SaulJWu.github.io.git
  git config --global user.name "SaulJWu"
  git config --global user.email "SaulJWu@outlook.com"
fi
git init
git add -A
git commit -m "${msg}"
git push -f $githubUrl master:gh-pages # 推送到github

# # deploy to coding
# echo 'www.xugaoyi.com\nxugaoyi.com' > CNAME  # 自定义域名
# if [ -z "$CODING_TOKEN" ]; then  # -z 字符串 长度为0则为true;$CODING_TOKEN来自于github仓库`Settings/Secrets`设置的私密环境变量
#   codingUrl=git@git.dev.tencent.com:xugaoyi/xugaoyi.git
# else
#   codingUrl=https://xugaoyi:${CODING_TOKEN}@git.dev.tencent.com/xugaoyi/xugaoyi.git
# fi
# git add -A
# git commit -m "${msg}"
# git push -f $codingUrl master # 推送到coding

cd -
rm -rf docs/.vuepress/dist
2
3
4
5
6
7
8
9
10
11
12
13
14
15
16
17
18
19
20
21
22
23
24
25
26
27
28
29
30
31
32
33
34
35
36
- 自动触发云端部署
pushCode.sh
git add .
git commit -m 'push'
git push
2
3
这里注意,自己确实是在master分支下运行这个sh脚本文件。现在我比较推荐自动触发云端部署,我只要push云端就能自动帮我编译打包。
似乎以前的打包方式和现在的打包方式有点相同,都是需要运行sh文件,其实不一样,以前的打包方式,只会打包编译后的文件到github,然而源码缺没有打包上去。
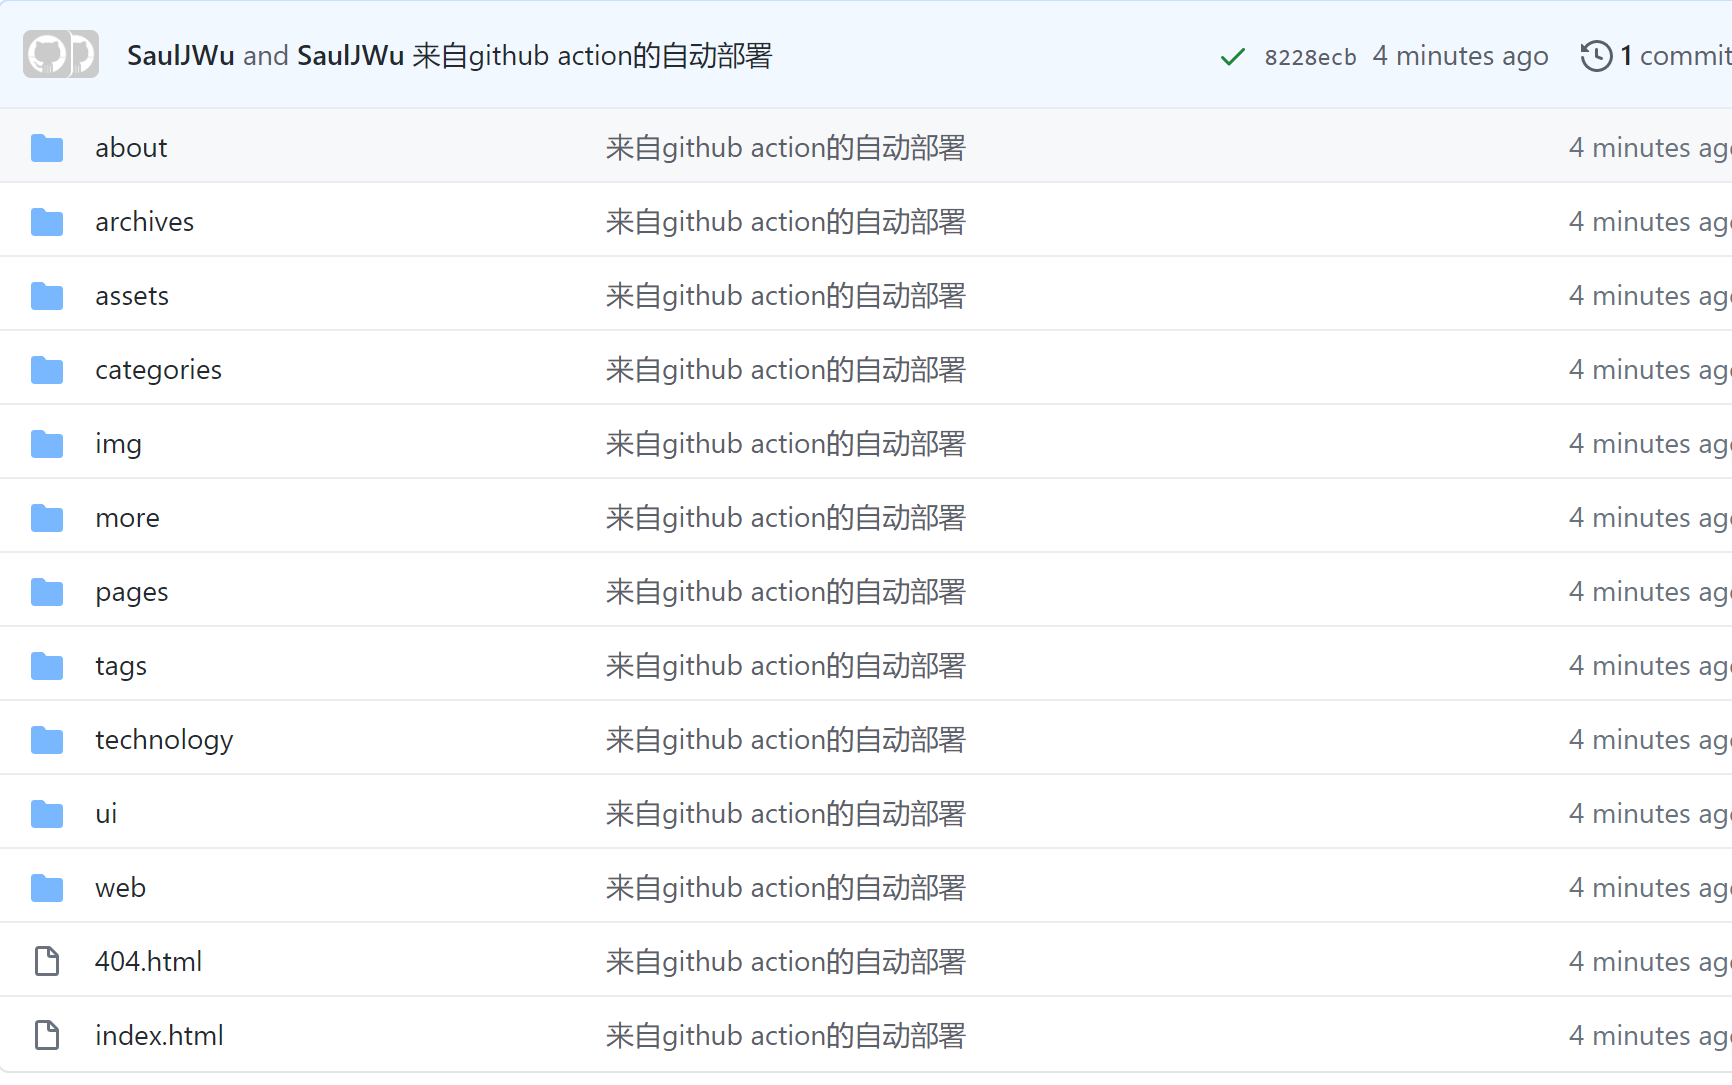
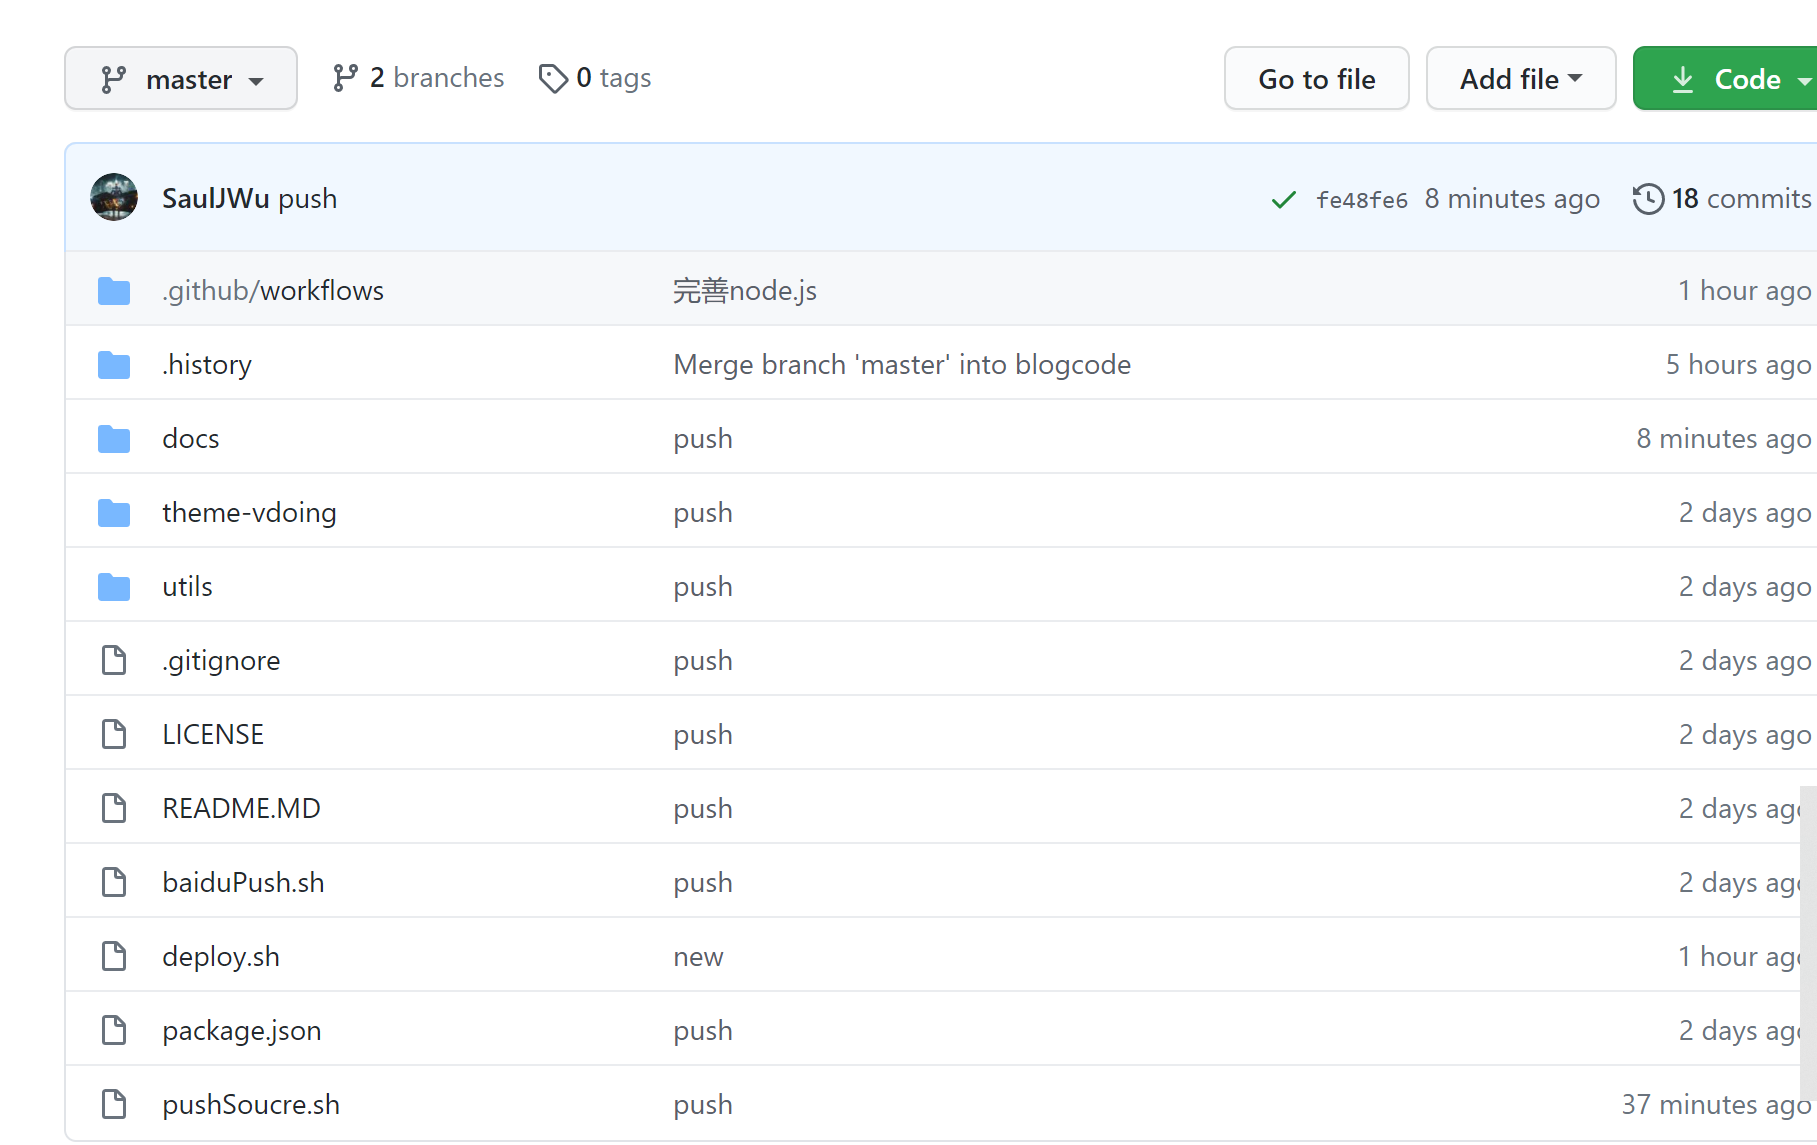
现在我们的只需要短短几行代码,就可以将源代码和编译后的文件,分别打包到不同分支了,以后我去到哪一个地方我只需git pull下来,然后就可以开始写文章了,这才是真正实现了云笔记的功能。
再配合Typora+PicGo图床 (opens new window),就爽歪歪了,那么现在写笔记的流程是这样:
- 把项目克隆到本地
- 用typora写好文章,其中图床自动上传
- 写完后双击运行pushCode.sh
就可以了
笔记
当然也可以在package.json,配置好,直接运行脚本
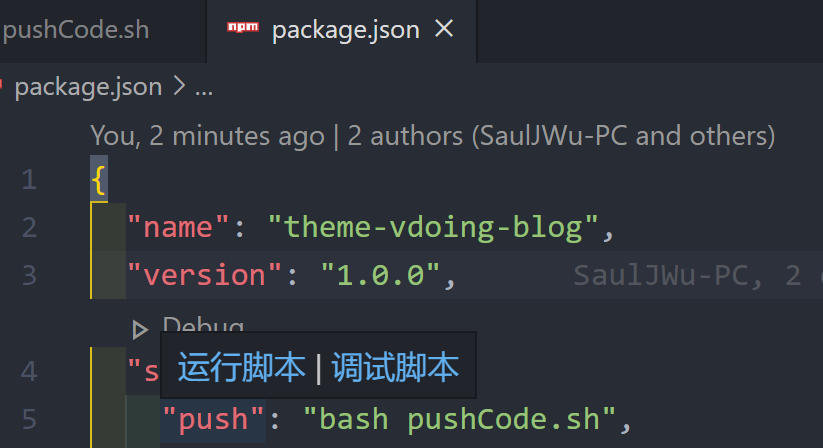
如果win10系统,不支持sh文件运行,请把vscode设置为默认是bash.exe运行
成功视图
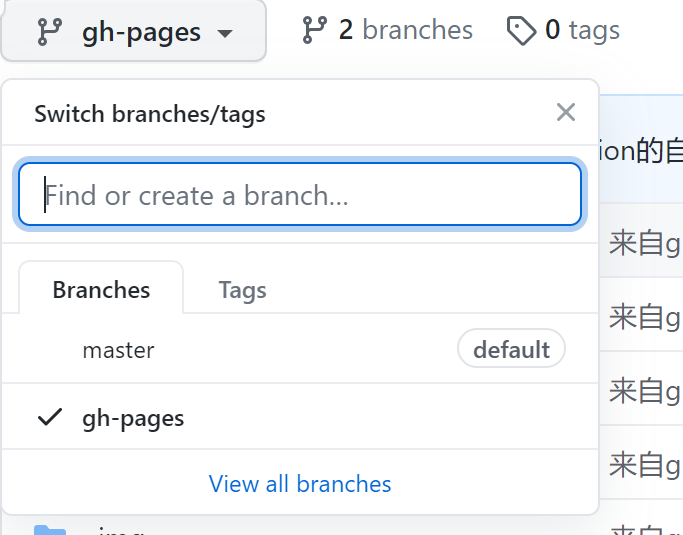
- gh-pages分支
- mast 源代码分支
# 设置网站
因为我们生成的静态文件都在gh-pages文件,那么把设置为访问地址就可以了。
sttings -> github pages 切换 source 成 gh-pages branch 点击访问地址。
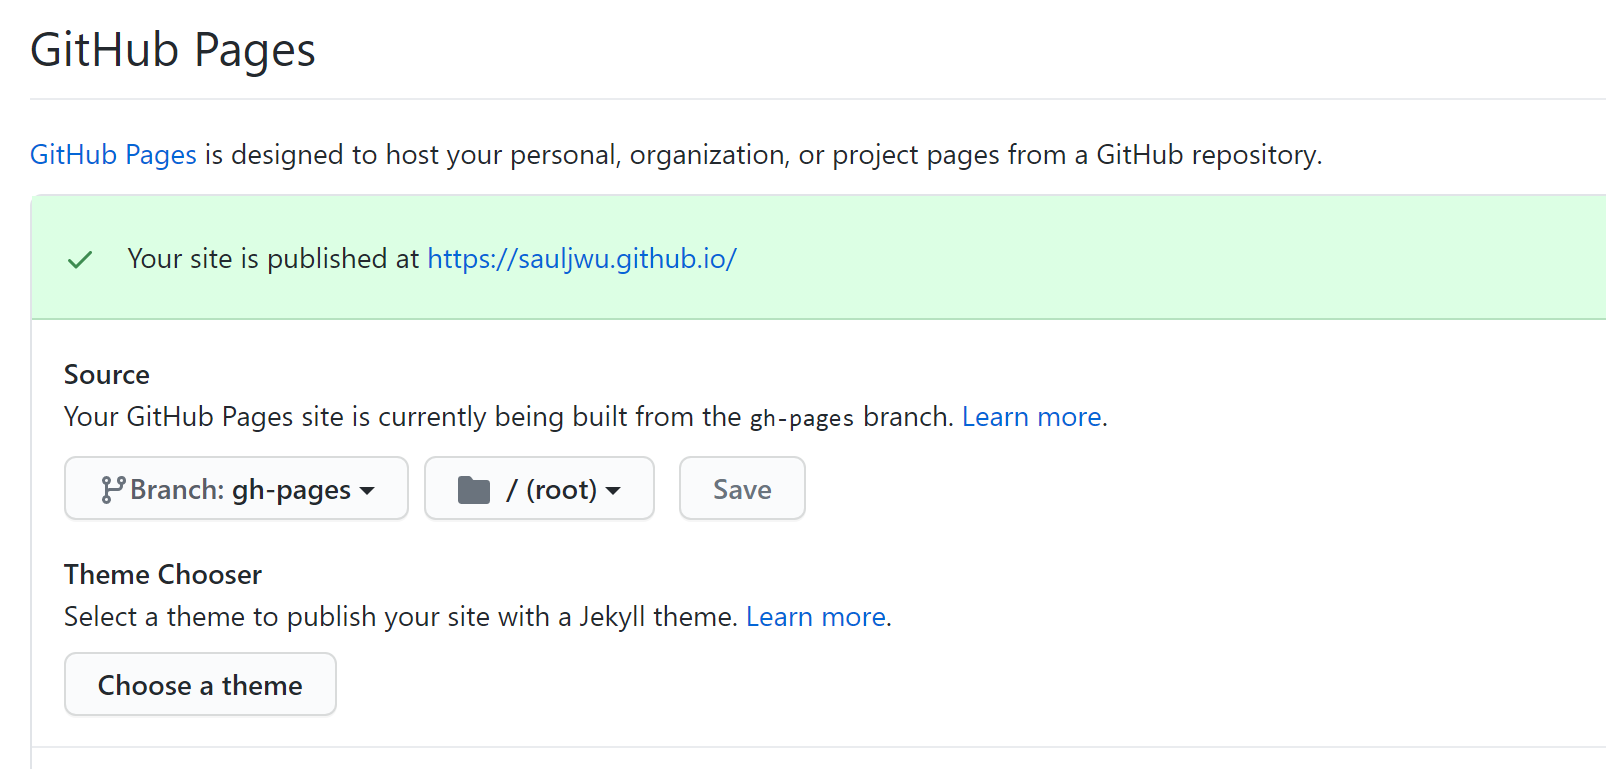
这时候访问自己的博客就行了
# 参考文档
GitHub Actions 实现自动部署静态博客 | Evan's blog (opens new window)
VuePress + GitHub Actions 自动化构建文档博客 (opens new window)
使用 GitHub Actions 自动部署博客 | vuepress-theme-reco (opens new window)
# TODO
- 改善页面目录结构
- 部署到coding pages (opens new window)上
- 百度收录
- 不蒜子统计
- 博客SEO优化
